Front Panel Monitor
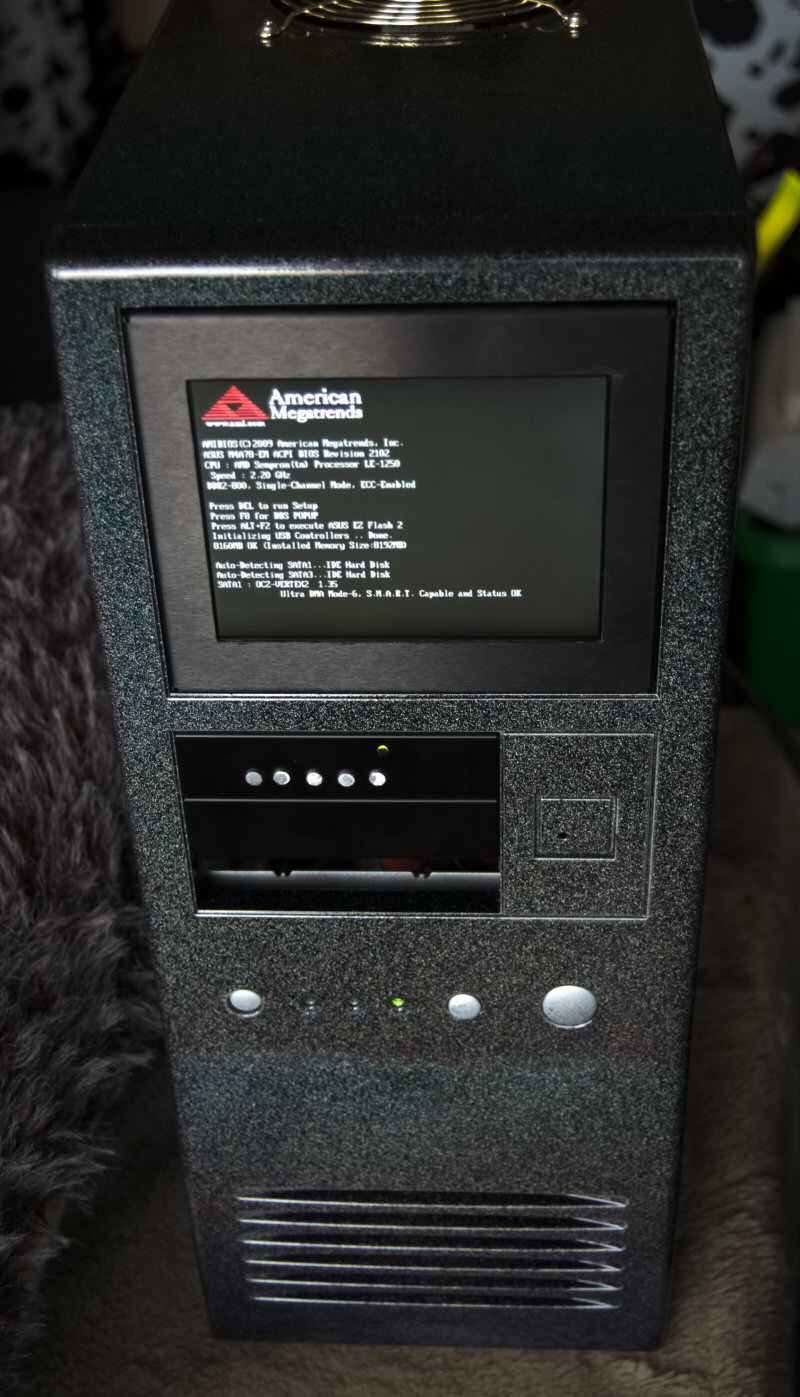
When I decided to replace my old fileserver with a more powerful machine, I of course needed to replace its blinkenlights with something appropriately new and shiny. I realized that a small LCD screen would fit perfectly into the three spare drive bays on the front of the case. It proved quite difficult to source a screen of suitable dimensions that had a VGA input, but I finally managed to get an LCD panel + controller board by importing it from China.
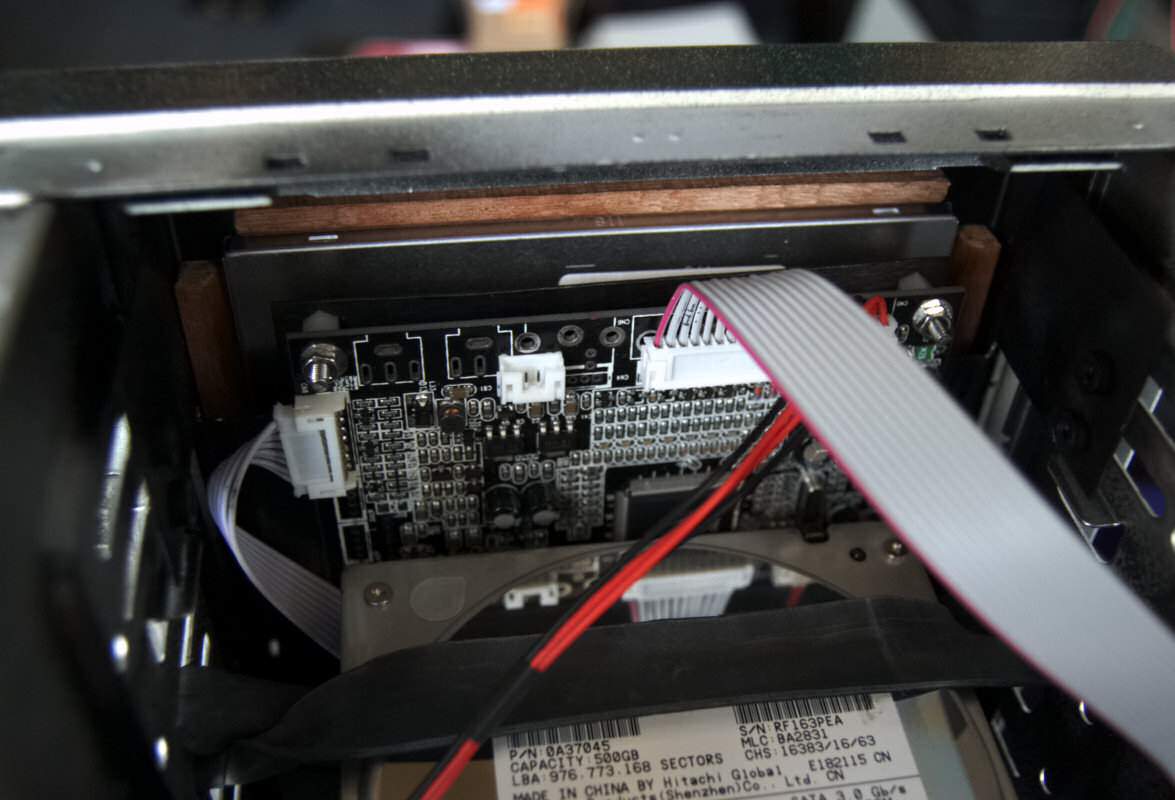
In order to mount the monitor in the case, I needed something that would exactly fit into three drive bays. Fortunately, Mountain Mods make triple drive bay covers that are perfect for the task, saving me the trouble of trying to bend sheets of metal myself. I cut and bent the central third of the side "wings" to be parallel to the front, then cut a square hole in the front, and bolted the bit I cut out to the bent wings. This provided both a way of mounting the PCB and a way of clamping the LCD panel in place (it has no mounting holes, so clamping is the only way to secure it).

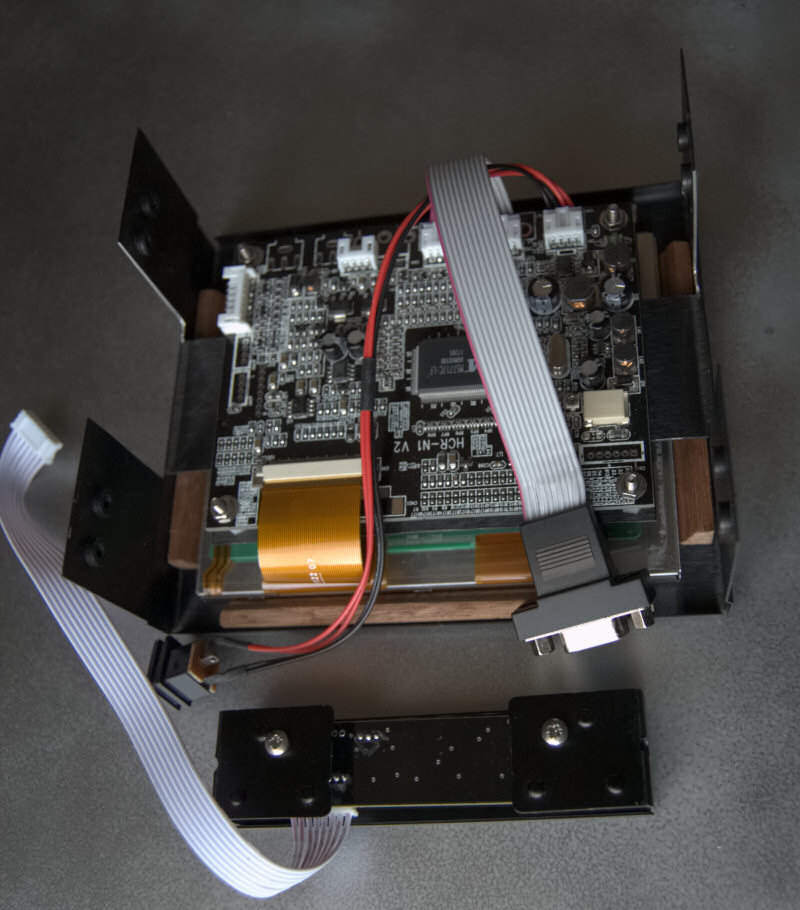
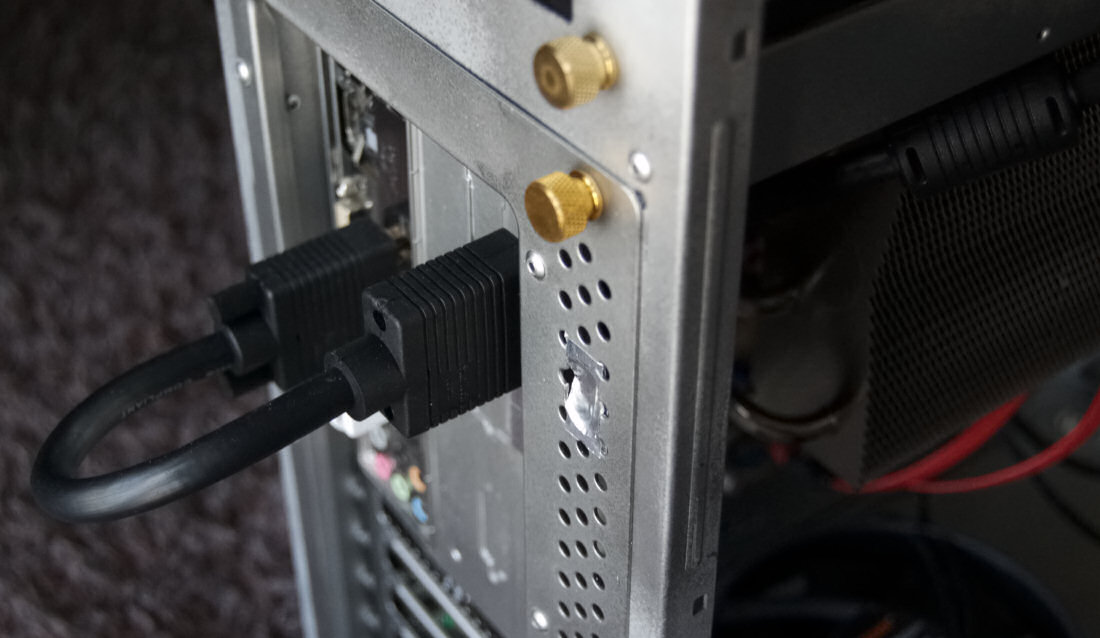
One problem I encountered was that VGA connectors are too big to fit through any of the openings in the back of the case. To fix this, I obtained a very short VGA extension cable and looped it around to one of the serial port cut-outs (this case dates to when it was common for cases to have all sorts of extra holes for connectors to poke through). From there, I attached a normal, if very short, VGA cable which runs inside the case to the monitor.
Getting the hardware working was easy. The next task was writing software to show something useful on the monitor, such as CPU and network activity. Since this is a proper monitor rather than just a few LEDs like the blinkenlights were, it can present data in a more advanced way, including things like charts and text. As usual, I wrote it all in Java. Most of the functionality is provided by two very useful libraries: Sigar to collect data, and JChart2D to display it.
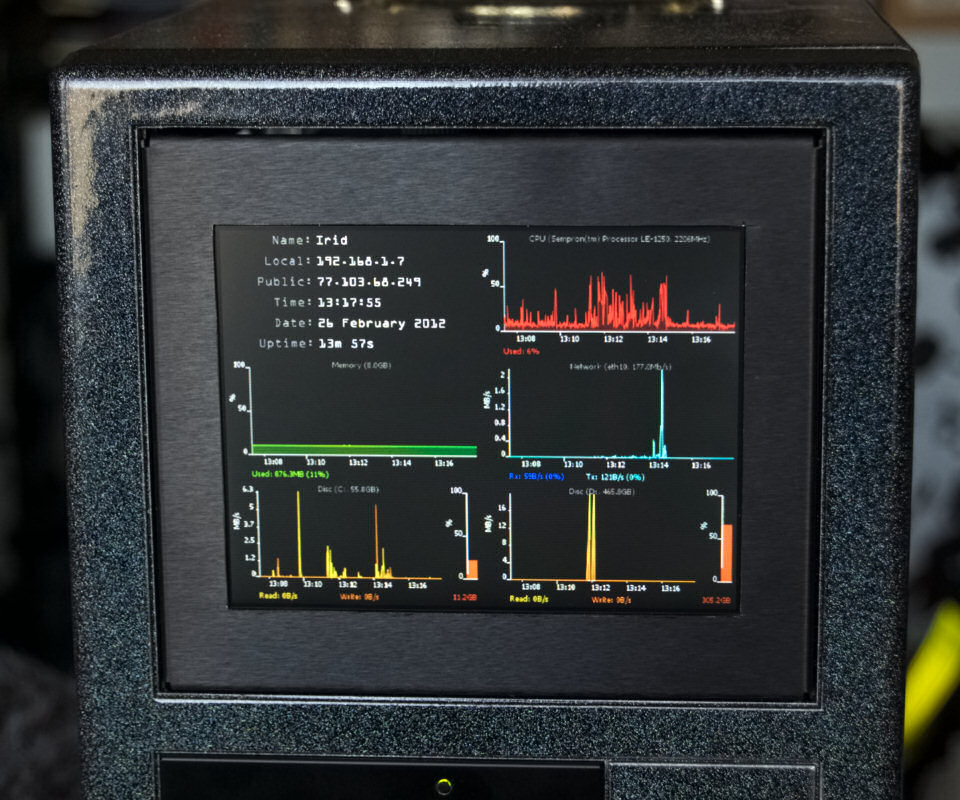
It's not easy to read the text from any distance because it's small and the resolution is only 640x480, but the charts are easy enough to see, and show the most important info.
You can download the source code below, in the form of a NetBeans project. Everything needed to build it is included, except that only the 64bit Windows Sigar dll is included. Libraries for other OSes can easily be obtained from the Sigar website (FPMon was built with Sigar 1.6.4). FPMon requires Java 7 (or later).
FPMon_1.0_source.zip (1.05MB)