Office chair
Yet another project that took far longer than it should have, this one started well over a year ago when my old chair wore out. The old chair consisted of a standard office chair base onto which I had bolted a bucket seat that used to be in my car. Eventually the foam started to degrade, so I thought I would try making a seat myself.
Design & Prototyping
A benefit of a custom-built chair is that it can be fitted exactly. But how do I know what shape and size it needs to be? I started by taking a few measurements of myself to get a rough idea of how tall and wide it would have to be. However, human bodies are squishy and flexible, making precise measurements impossible. So the next step was to create a prototype that could be easily adjusted until it fit.
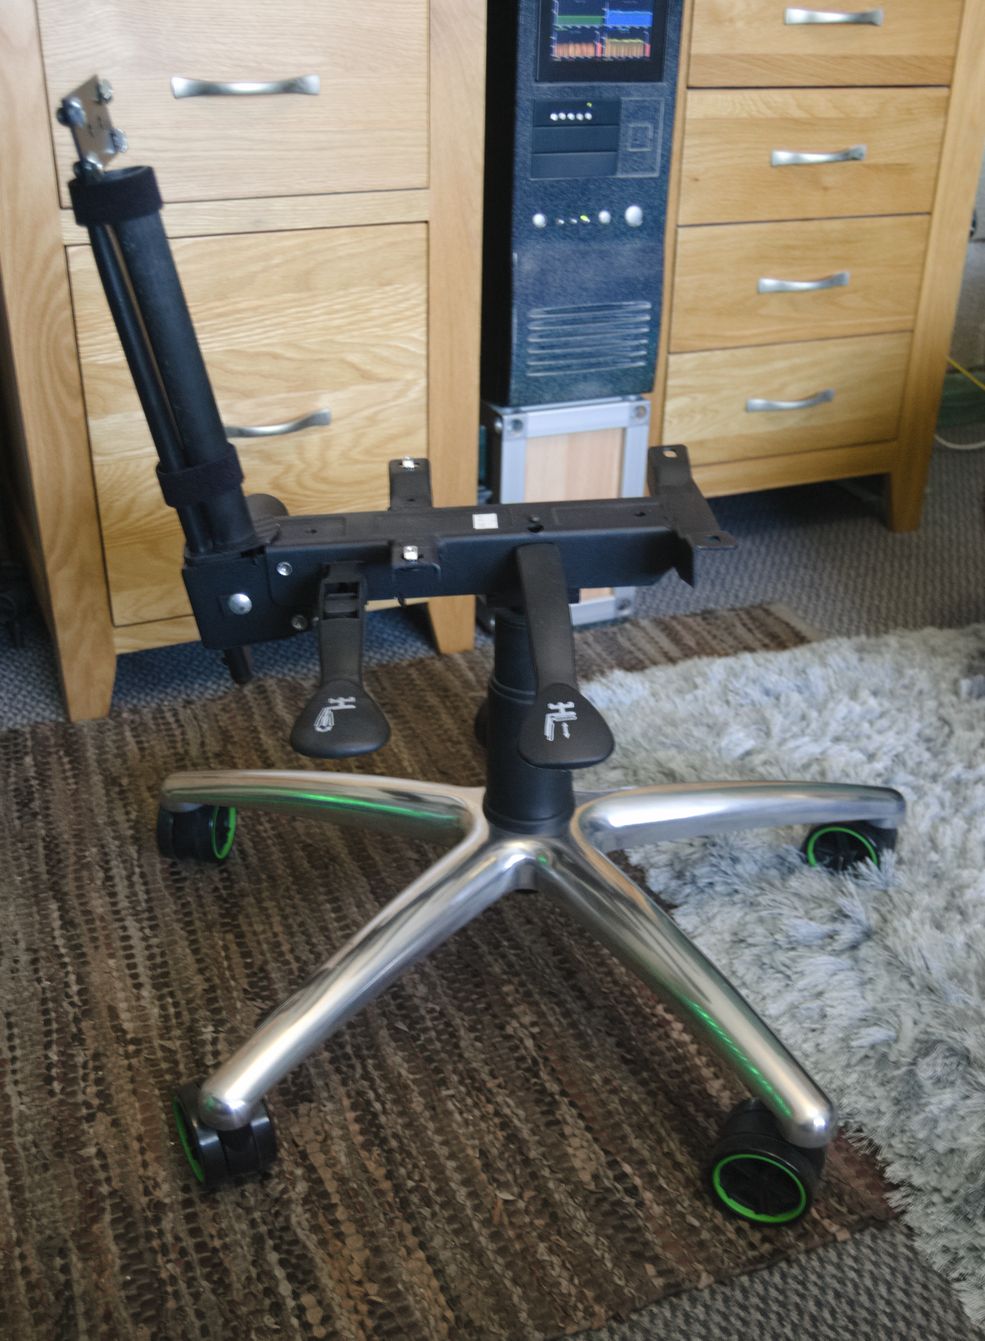
As with the old chair, this one is based on ordinary office chair parts - large Vertagear casters, a plain aluminium base, a piston, and a chair mechanism (with a tilting back). The prototype seat and back were made from aluminium extrusions with MDF sides. I didn't take a photo of the prototype, which was hideously ugly. This method of construction allowed me to move the position of the seat, back and head rest by drilling holes in the MDF and moving the aluminium extrusions around. With the desired dimensions now known, I used QCAD to draw a plan.

Delays
At this point I wanted to get the cushions made. I had to do so before anything else so that I could make sure that everything was still in the right place with the thickness of the cushions added. I had the idea to get cushions with some metal eyelets in them so I could bolt them to the aluminium extrusions. Although there are many companies who will make custom cushions, it was a struggle to find one capable of doing what I wanted (most of them will only do plain rectangles, with no real customization beyond the dimensions and fabric). I did find one, which also happened to be local. They agreed to make them, but said they were very busy, so I would have to wait a few months. That was fine, as I'm used to having to wait to get things custom made.
That was in mid 2019. By early 2020 they still hadn't said they were ready, and were no longer replying to emails. So I gave up on them, and the idea of eyelets, and slightly changed the design to use ties instead, which are a more common type of fixing that was easier to find someone to do. Of course by that time there was a global pandemic causing delays, so it took a while longer. Eventually I got some cushions from Foam and Covers, who did a fine job.
Construction
With all that done, I was finally able to make the sides. I decided to use European oak, so it would match some furniture that I already owned. I got the oak from Woodshop Direct. Since there are no straight edges, and the holes to drill are in odd places, I did it by printing out the CAD drawing on paper, then taping the paper to the wood. I could then drill holes and cut around it as precisely as my wobbly hands allow.
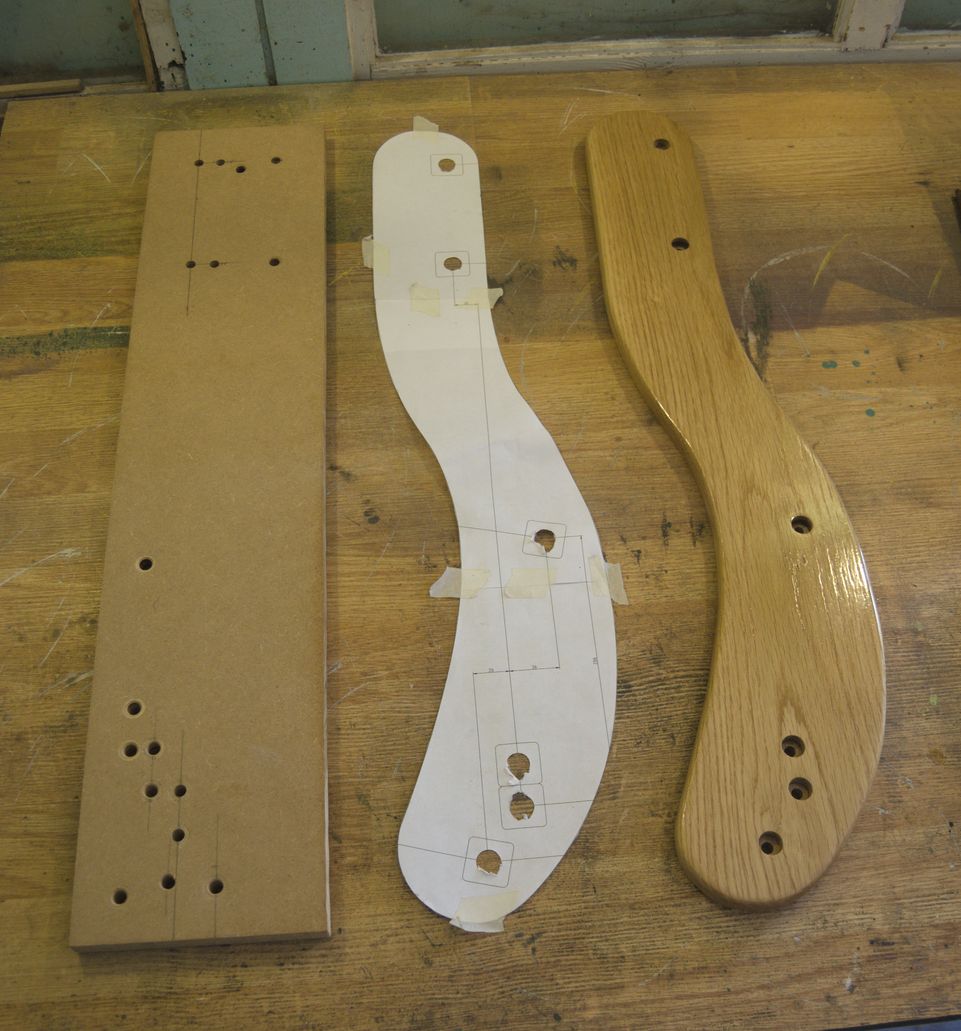
With things like this, where it's more important for two pieces of wood to be the same shape than for them to be a particualr shape, an easy way to do it is to cut one piece as accurately as you can, and cut the second one slightly larger. Then lay the larger one over the smaller one and simply run a router with a flush trim bit around the edge, giving you two pieces exactly the same shape.
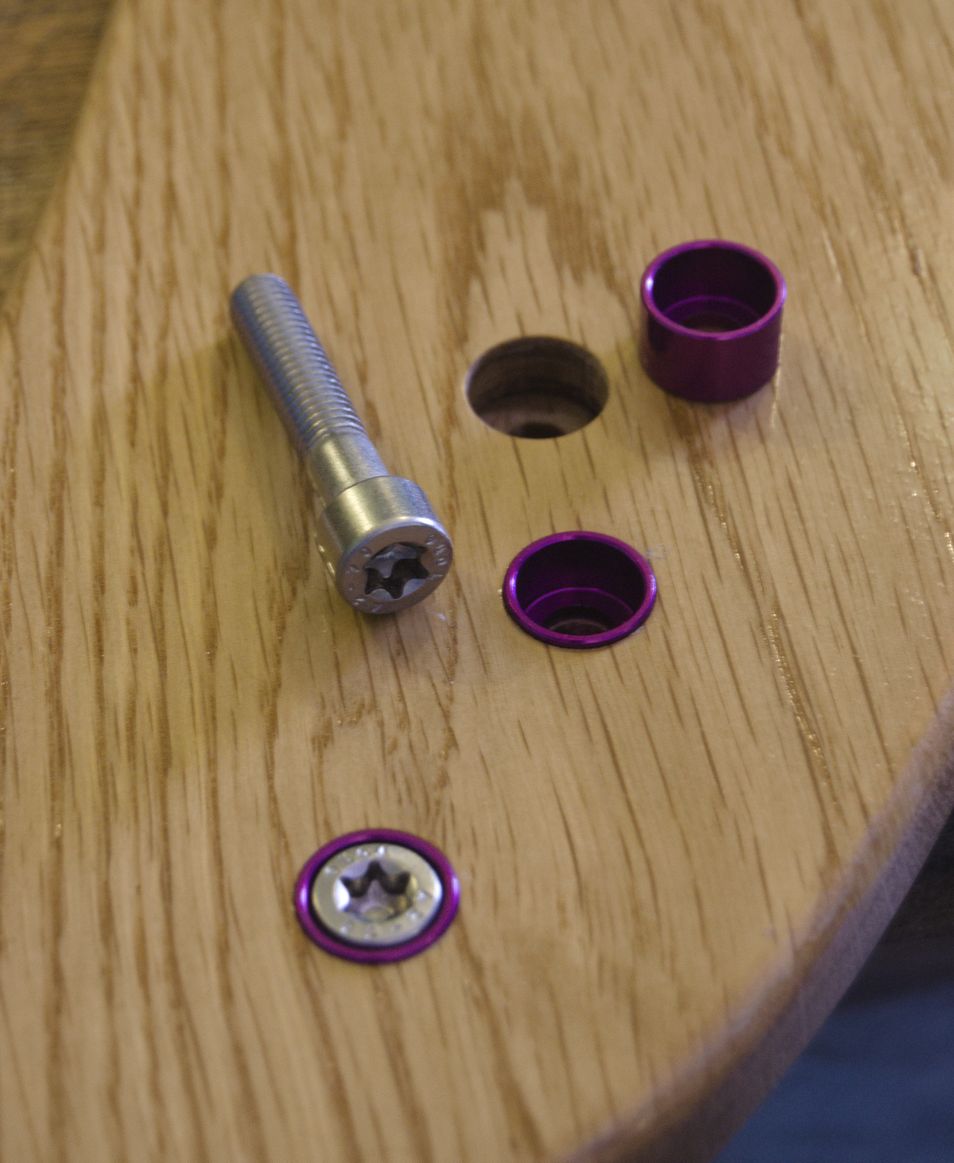
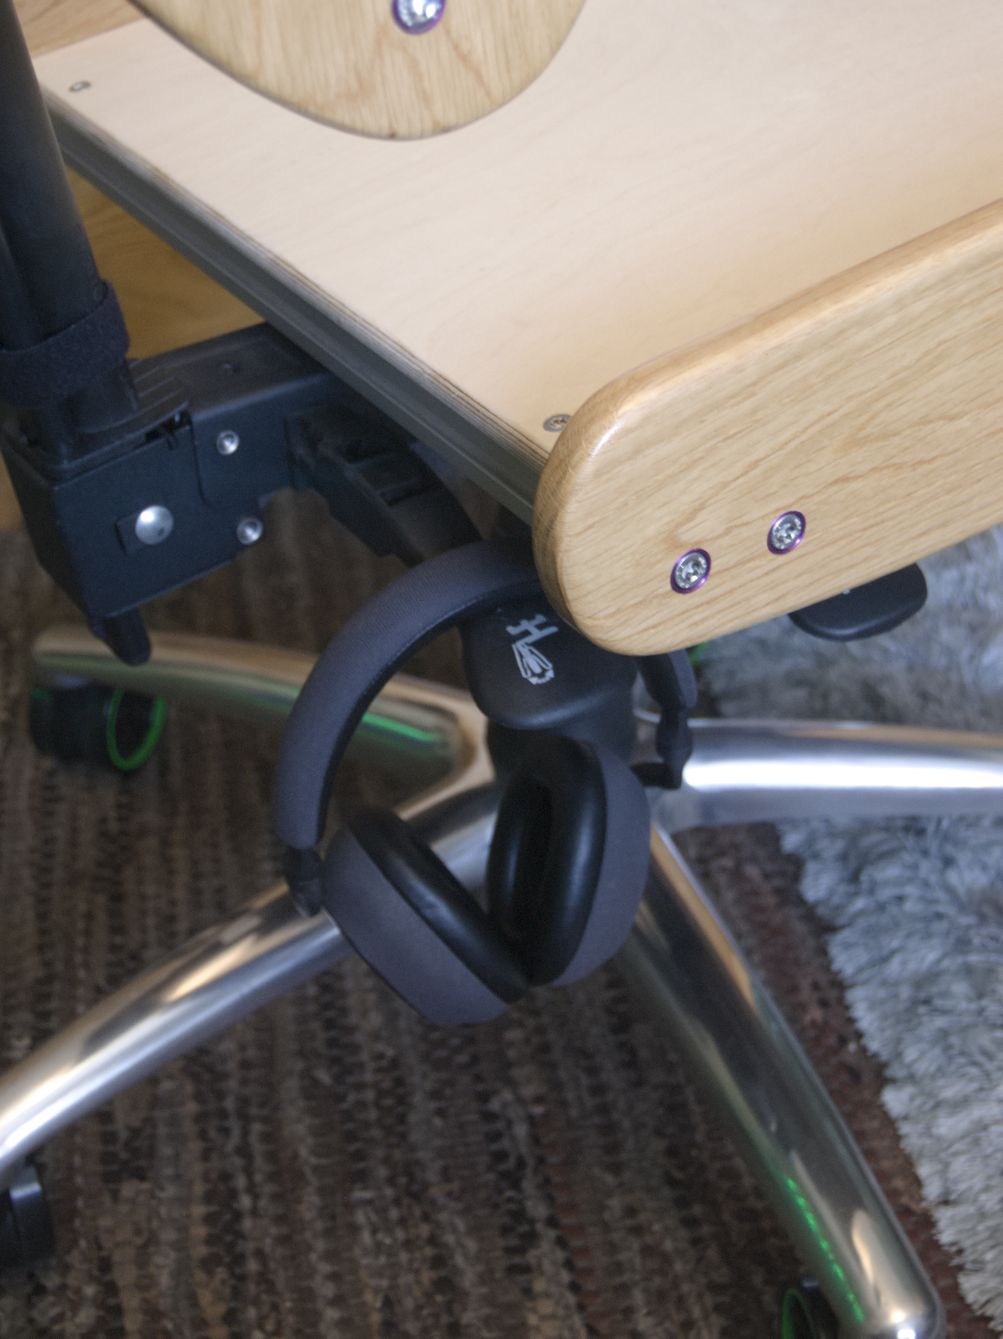
To attach the sides to the aluminium extrusion, I used ordinary socket cap bolts and cup washers. This let me use pretty anodized cup washers from Pro-Bolt, because who doesn't like purple ano? The bolts are stainless steel ones from Accu, so that they will stay permanently shiny.
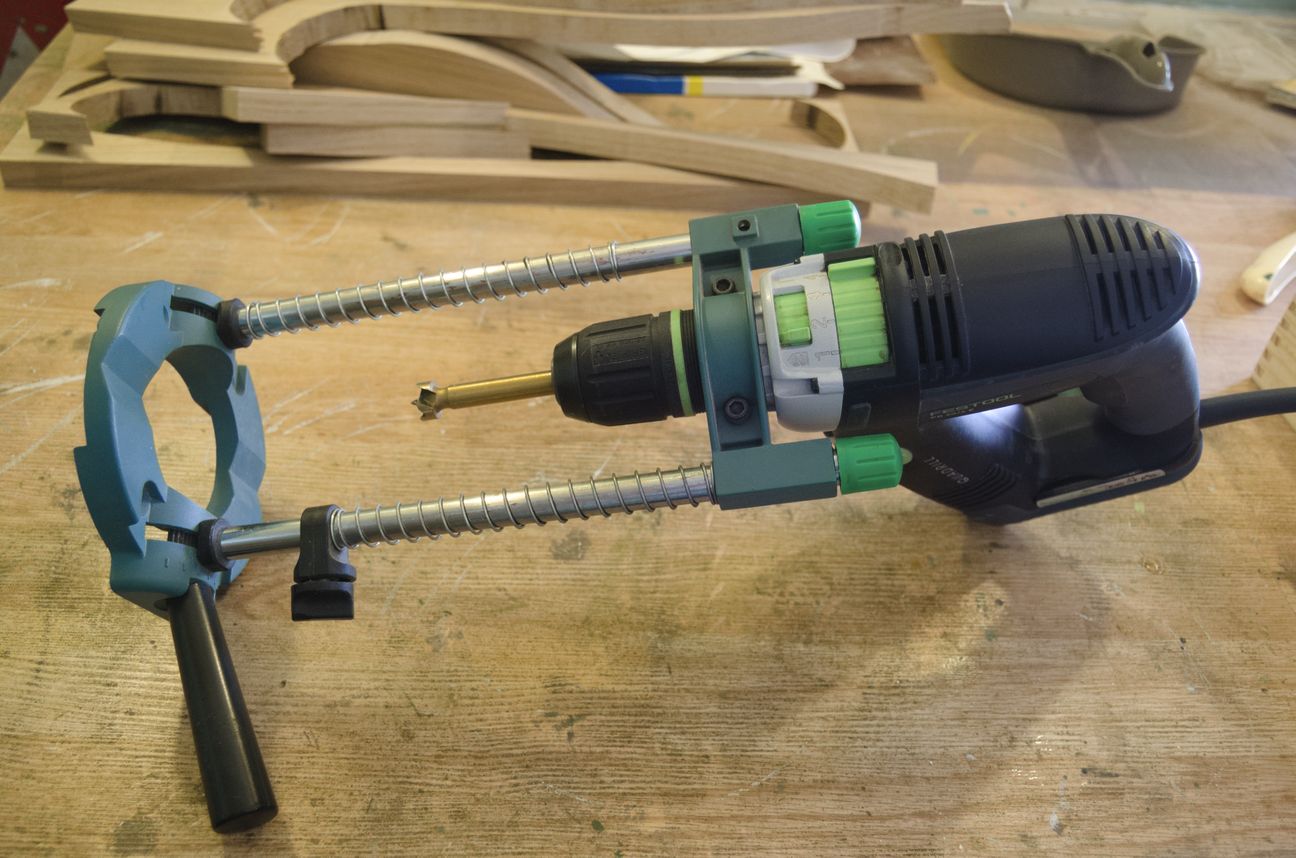
Since the bolts are highly visible, they have to be counterbored as neatly as possible. That means perfectly round, flat-bottomed holes of precisely the right depth. The correct tool for that is a Forstner drill bit in a pillar drill. I don't have a pillar drill, so I used a normal hand-held drill in a drill guide. A tip for drilling holes like this: Forstner bits don't cut very well, and it's mostly the centre part of them that doesn't cut well. So, if you drill out the centre of the hole with a normal drill bit first, then the Forstner bit will have less work to do, and cut much faster.
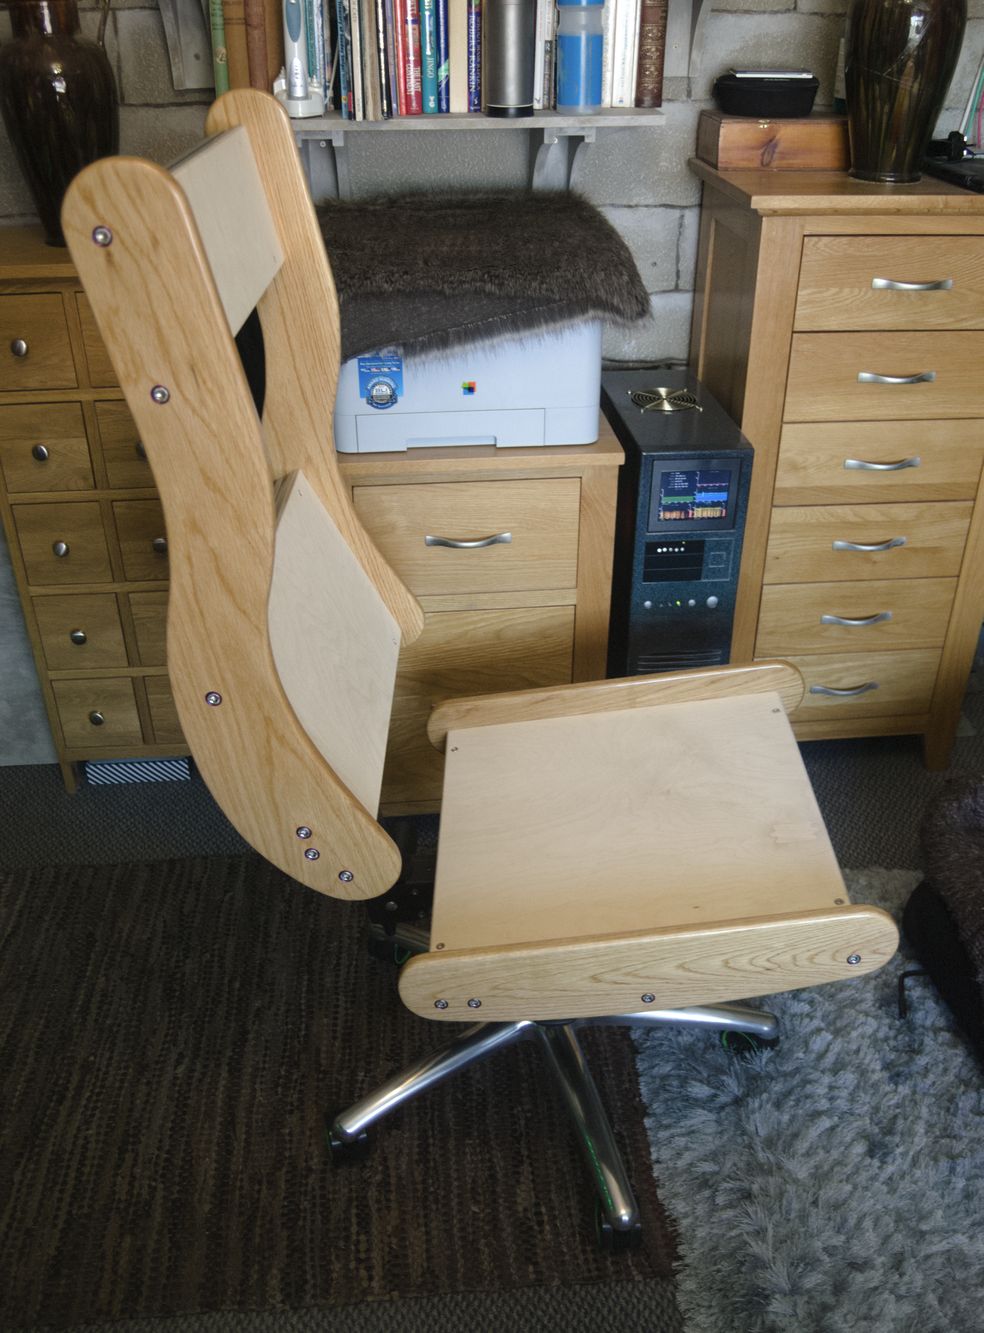
The only other parts are the panels for the seat, back and headrest. They are made from birch ply, which was cut to size by Woodshop Direct, so I didn't have to do anything other than drill a few holes so they could be bolted to the aluminium extrusion.
Finished
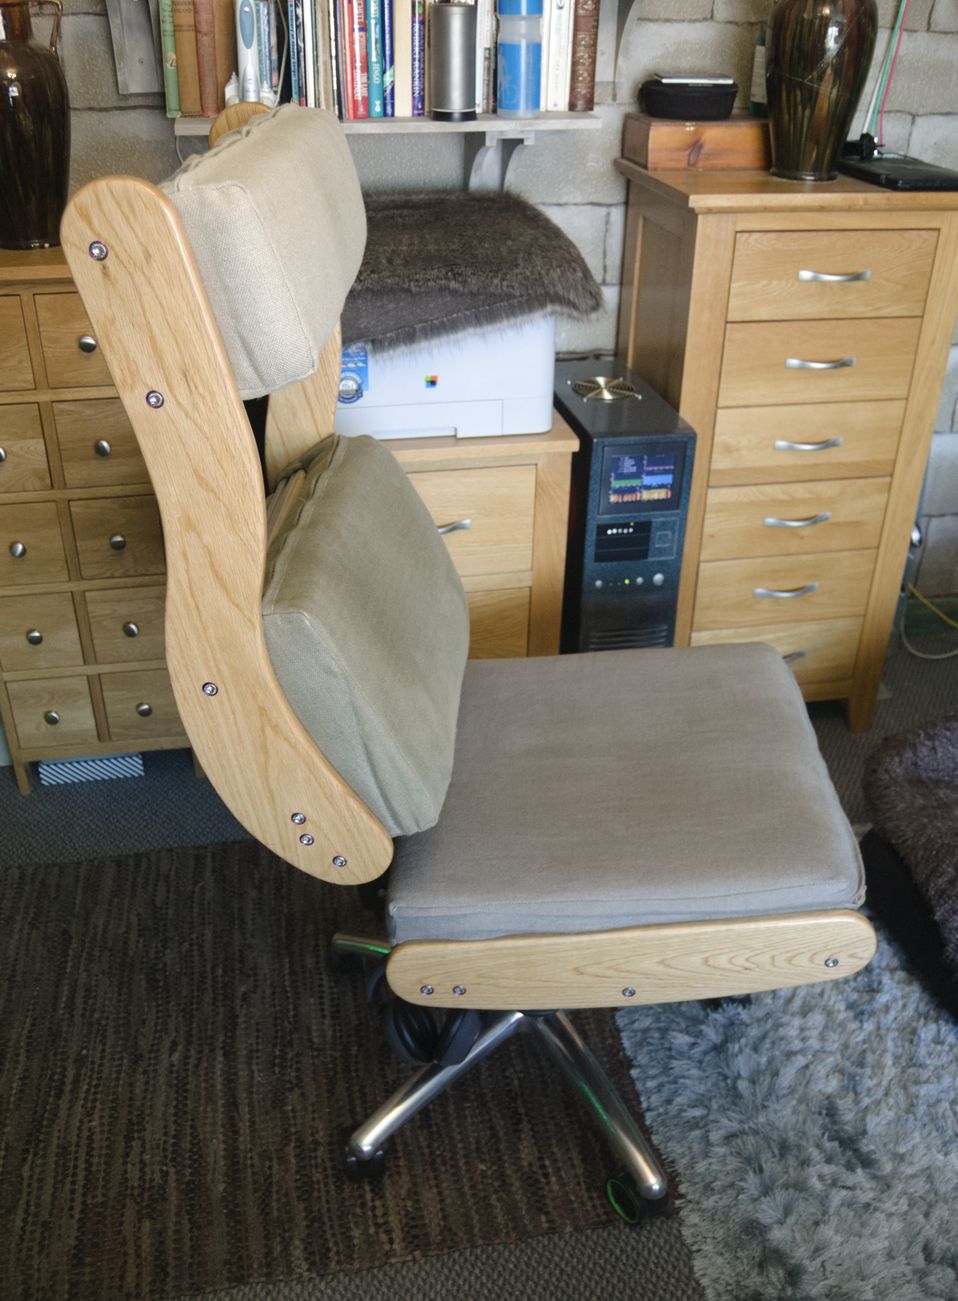
There are a few things to note about the chair:
- There's a large gap between the back and head rest. During prototyping, it became apparent that only the lower back needs to be supported, and optionally the head too. Supporting the upper back doesn't help at all.
- The seat is angled up slightly towards the front. On a chair where the whole thing can tilt, I would accomplish this by leaning back, but with a fixed seat, I had to build-in a slight tilt. I find this more comfortable than a flat seat.
- It's wider than a normal office chair (the cushions are 500mm wide). This gives me room to fidget, and sit in plenty of different positions, which is more comfortable when I have to sit down for very long.
- No arm rests. Sometimes it's nice to rest my arms, but most of the time arm rests just get in the way.
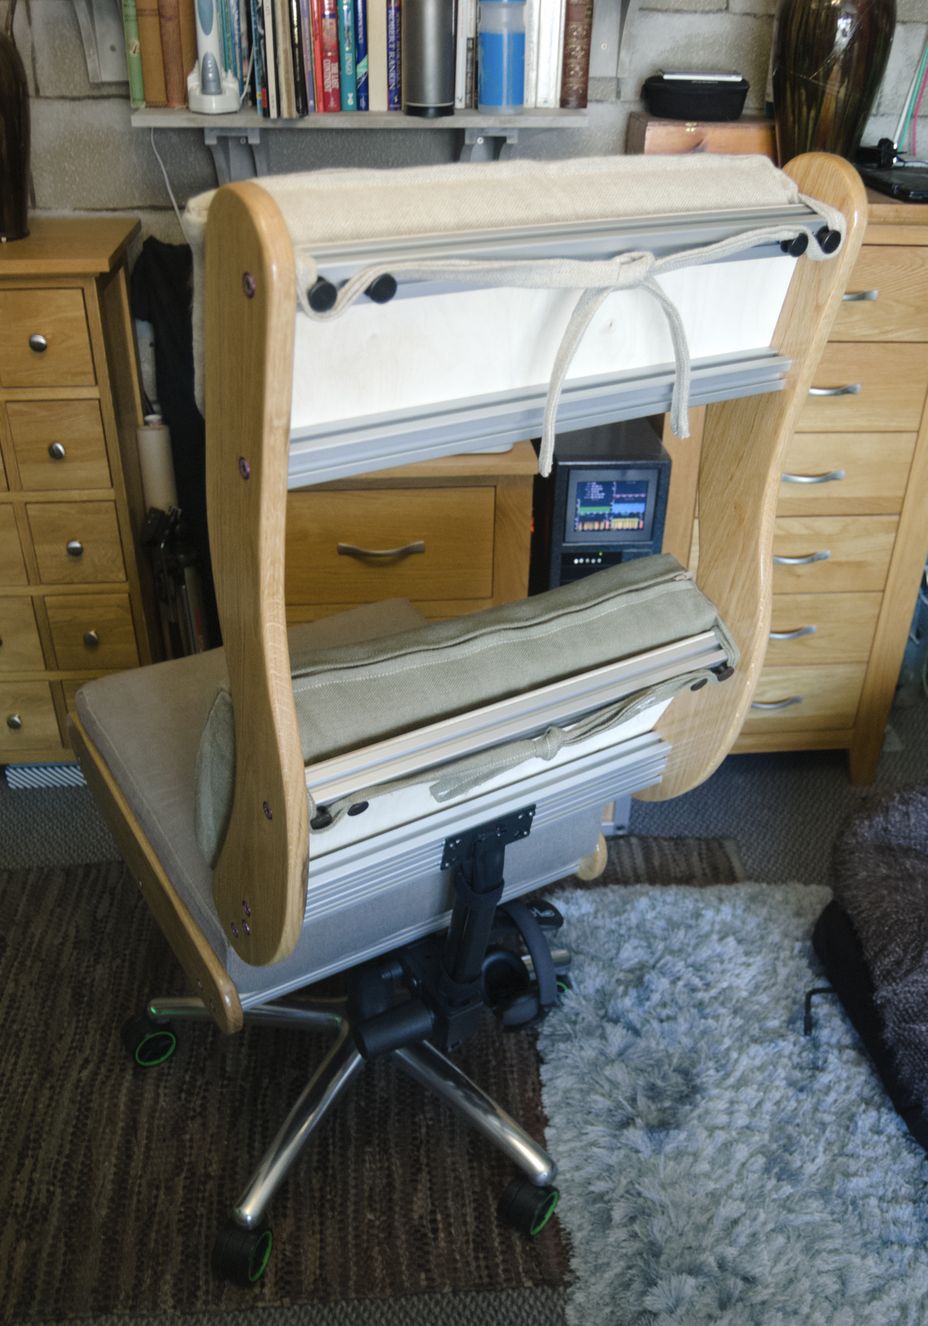
From behind it's possible to see how everything is connected. Aluminium extrusions are bolted between the two sides. Some of those are used to hold the plywood panels, and the others for bolting to the chair mechanism.

I spend quite a lot of time sitting in front of my computer, and that has only increased this year, as I have been working from home. That makes having a comfortable chair very important, and this is indeed a comfortable chair. While plenty of chairs are highly adjustable, they are never quite the right shape, unlike this chair, which is literally made for me.